Video Editing Quick Tip: Dynamic Trimming in Premiere Pro
This quick tutorial covering dynamic trimming in Premiere Pro will help you achieve more precise playback while editing in the timeline.
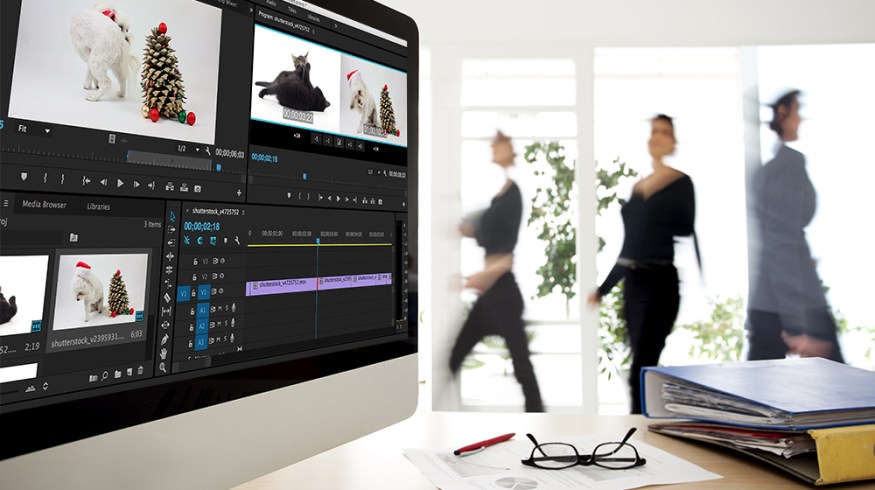
Top image via Shutterstock
One of the most frustrating aspects of video editing is noticing a mistake (or finding something specific you want to examine) in the middle of your timeline. Controlling playback dynamically as you cut is a great skill set to add to your Premiere Pro arsenal.
Step 1: Play Around
First you want to hit the Play Around option (or Shift+K). This takes you back a few seconds.
To change that number of seconds, choose Premiere Pro CC > Preferences > Playback. If you’re working on a PC: Edit > Preferences > Playback and then edit the amount of time under PreRoll and PostRoll. Just remember — Shift+K

Step 2: Looping
After you’ve figured out what Play Around does, you can loop this action by going to the Wrench Tool on the program monitor and picking Loop.
Hitting Shift+K now will take you back a few seconds, play through to a couple of seconds after, and then loop back around and play it again. This saves you from having to manually go back to where you want to begin your edit.

Step 3: Trimming
First, hit the shortcut T to highlight the cut you want to play with, then hit Option+Left Arrow or Option+Right Arrow. If you’re working on a PC, Alt+Right Arrow or Alt+Left Arrow.
This shifts the point where your Play Around starts and moves the cut backwards. This is perfect for trimming your clip frame by frame to exactly the right moment.

Another helpful hint: Option+Shift+Left Arrow. This moves it back five frames at a time. For additional tips/tricks/techniques, check out the Premiere Pro section of the PremiumBeat blog!
Have you made use of dynamic trimming in the past? Know of any other quick editing tips? Let us know in the comments below!


