
How to Record a Voice-Over Straight in Premiere Pro’s Timeline

In this exclusive PremiumBeat tutorial, you’ll learn how to record a voice-over directly to your timeline in Adobe Premiere Pro.
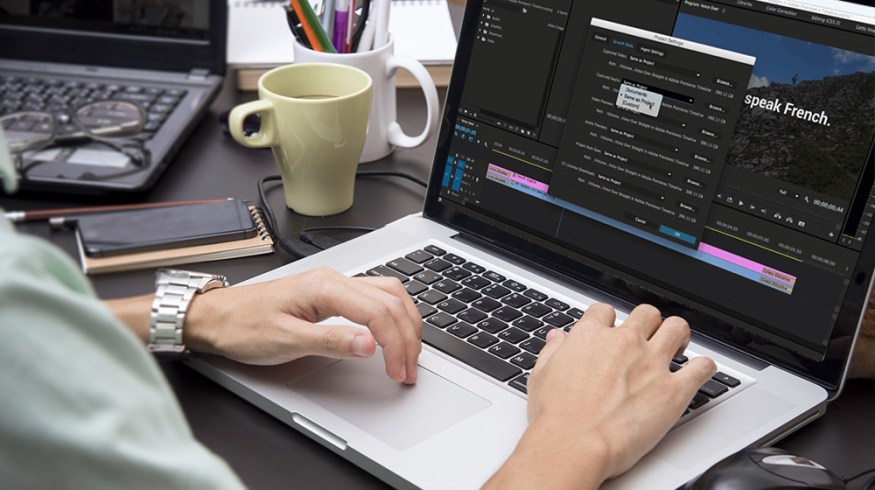
Image via Shutterstock
You can streamline your editing workflow by recording a voice-over straight in your Premiere Pro project. Additionally, you can monitor your video in real time while recording directly to a specified track in your project’s timeline, and utilize pre and post-roll countdowns and sound cues to help assist in your recording.
Let’s go over the steps on how to properly record a voice-over in Premiere Pro.
Step 1: Voice-Over Record Settings

Depending on your setup, you can use your computer’s built-in mic or an external microphone. For this tutorial, I’ll be using an Audio-Technica ATR2100-USB mic. To select the microphone, right-click or control-click in the header area of the selected audio track, then click on Voice-Over Record Settings. This will launch a dialog box where you can adjust several preferences, including:
- Name — Name the VO file prior to recording.
- Source/Input — Change the input here to select the Audio-Technica USB microphone.
- Countdown Sound Cues — This provides audio cues to alert you prior to recording.
- Pre/Postroll — Change the duration of pre and post-roll visual cues prior to recording.
- Audio Levels — Check my microphone levels.
Step 2: Select a File Path

After setting up the microphone and adjusting the preferences, you can specify where your audio will record to on your drive. To do this, go to Project Settings > Scratch Disks. Then go to Captured Audio and select where you would like these audio VO files to record, whether you want them to save in the same area as the project, your documents folder, or a custom location. In the above example, I leave them in the default path. Notice that there’s a subfolder created with the title Adobe Premiere Pro Captured Audio.
Step 3: Record the Voice-Over

You can find a voice-over record button in your audio track header area. If you don’t see it, right/control click on the header and select Reset Layout. Make sure you select the correct track when pressing the record button. If you simply press the voice over record button, the recording will start from the current playhead position.
You can select In and Out points on your timeline to control the duration of the the recording. Remember to rename your files each time you record a new voice over, otherwise it will revert to the last name you typed in with a simple number on it.
If you’d like a few more audio tips, we’ve got you covered. Looking for Premiere Pro tips? That’s no problem either.
What method do you use for recording voice-overs? Share your techniques in the comments below.


